How To: Check In Using Kiosk Mode
Kiosk Mode is a feature within the Adit Forms app for iOS and Android tablet devices. Practices can use Kiosk Mode to provide a seamless, automated self check-in process for their patients, enabling the front desk to focus on other duties. You must set up Kiosk Mode before patients can check in.

Please note: Kiosk Mode is not currently available for offices using Abledent, ClearDent, or Tracker as their practice management software. Keep an eye out for this feature, coming this Fall!
To check in in Kiosk Mode, the patient will enter their First Name, Last Name, and Birthdate, then tap the Check In button.
If an appointment for that patient is found on today's schedule, a confirmation screen will display. If no appointment is found, a message will prompt them to go back and try again. The most common reasons an appointment may not be found are:
- mistyping on the check in page
- using a different version of their name, i.e. Jim/James, Alex/Alexandra
- incorrect patient info in the schedule
If a patient has trouble checking in, they should reach out to a member of staff for further assistance.
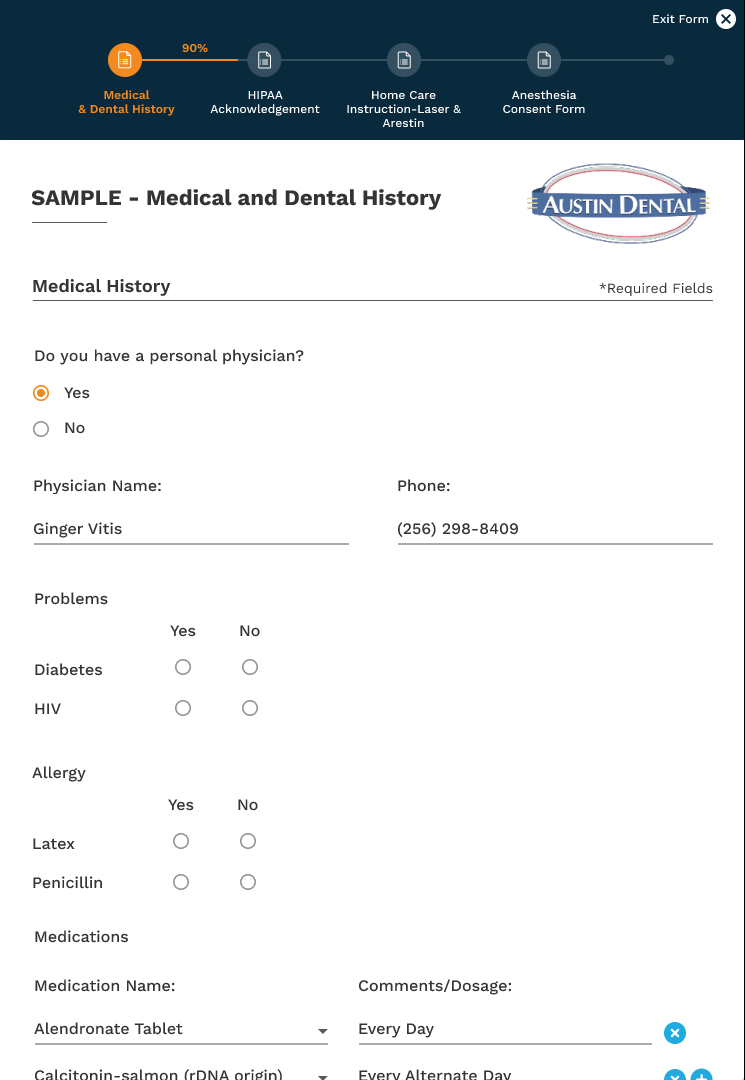
Once a patient has successfully checked in, they are prompted to fill out any pending Patient Forms. They can choose to do them directly on the kiosk, or to scan a QR code with the camera on their own device.
If they choose to fill out their forms on the Kiosk, it will function exactly the same as if you pushed the form to the device from your Adit platform.
If they scan the QR code, they can sit down and fill out their forms while they wait. The QR code takes the patient to a similar page that shows them all of their pending forms in one place; as they submit each form, it will automatically take them to the next pending form until they are all submitted.
Related Articles
How To: Set up Kiosk Mode
Kiosk Mode is a feature within the Adit Forms app for iOS and Android mobile devices. Practices can use Kiosk Mode to provide a seamless, automated self check-in process for their patients, enabling the front desk to focus on other duties. Please ...How To: Embed Your Online Scheduling Using Webforms
Webforms are a convenient way to allow patients to schedule or request appointments directly from your website, without needing to click a link and be redirected to a new page. This article can help your website designer or host by providing a custom ...How A Patient's Recall Due Date is Calculated in Adit Using Tracker
Practices using Tracker as their EHR can manage their patient recalls by setting “Pending Appointments”. Pending appointments are appointments that need to be scheduled for a patient, and are set on a calendar to serve as reminders for the practice ...Check if someone viewed an appointment request
When your practice offers online booking, it is crucial to stay on top of every request - especially if you do not integrate your EHR software with Adit’s Online Scheduling feature. Missing an appointment request can mean you accidentally double-book ...Process Payments Using an Insurance Card
Adit Pay can conveniently process payments using an insurance card. To begin processing insurance payments: Please Watch This Video Here Navigate to the Adit Pay module In the top navigation menu, select Payments. If you don’t see this option in the ...