How To: Embed Your Online Scheduling Using Webforms
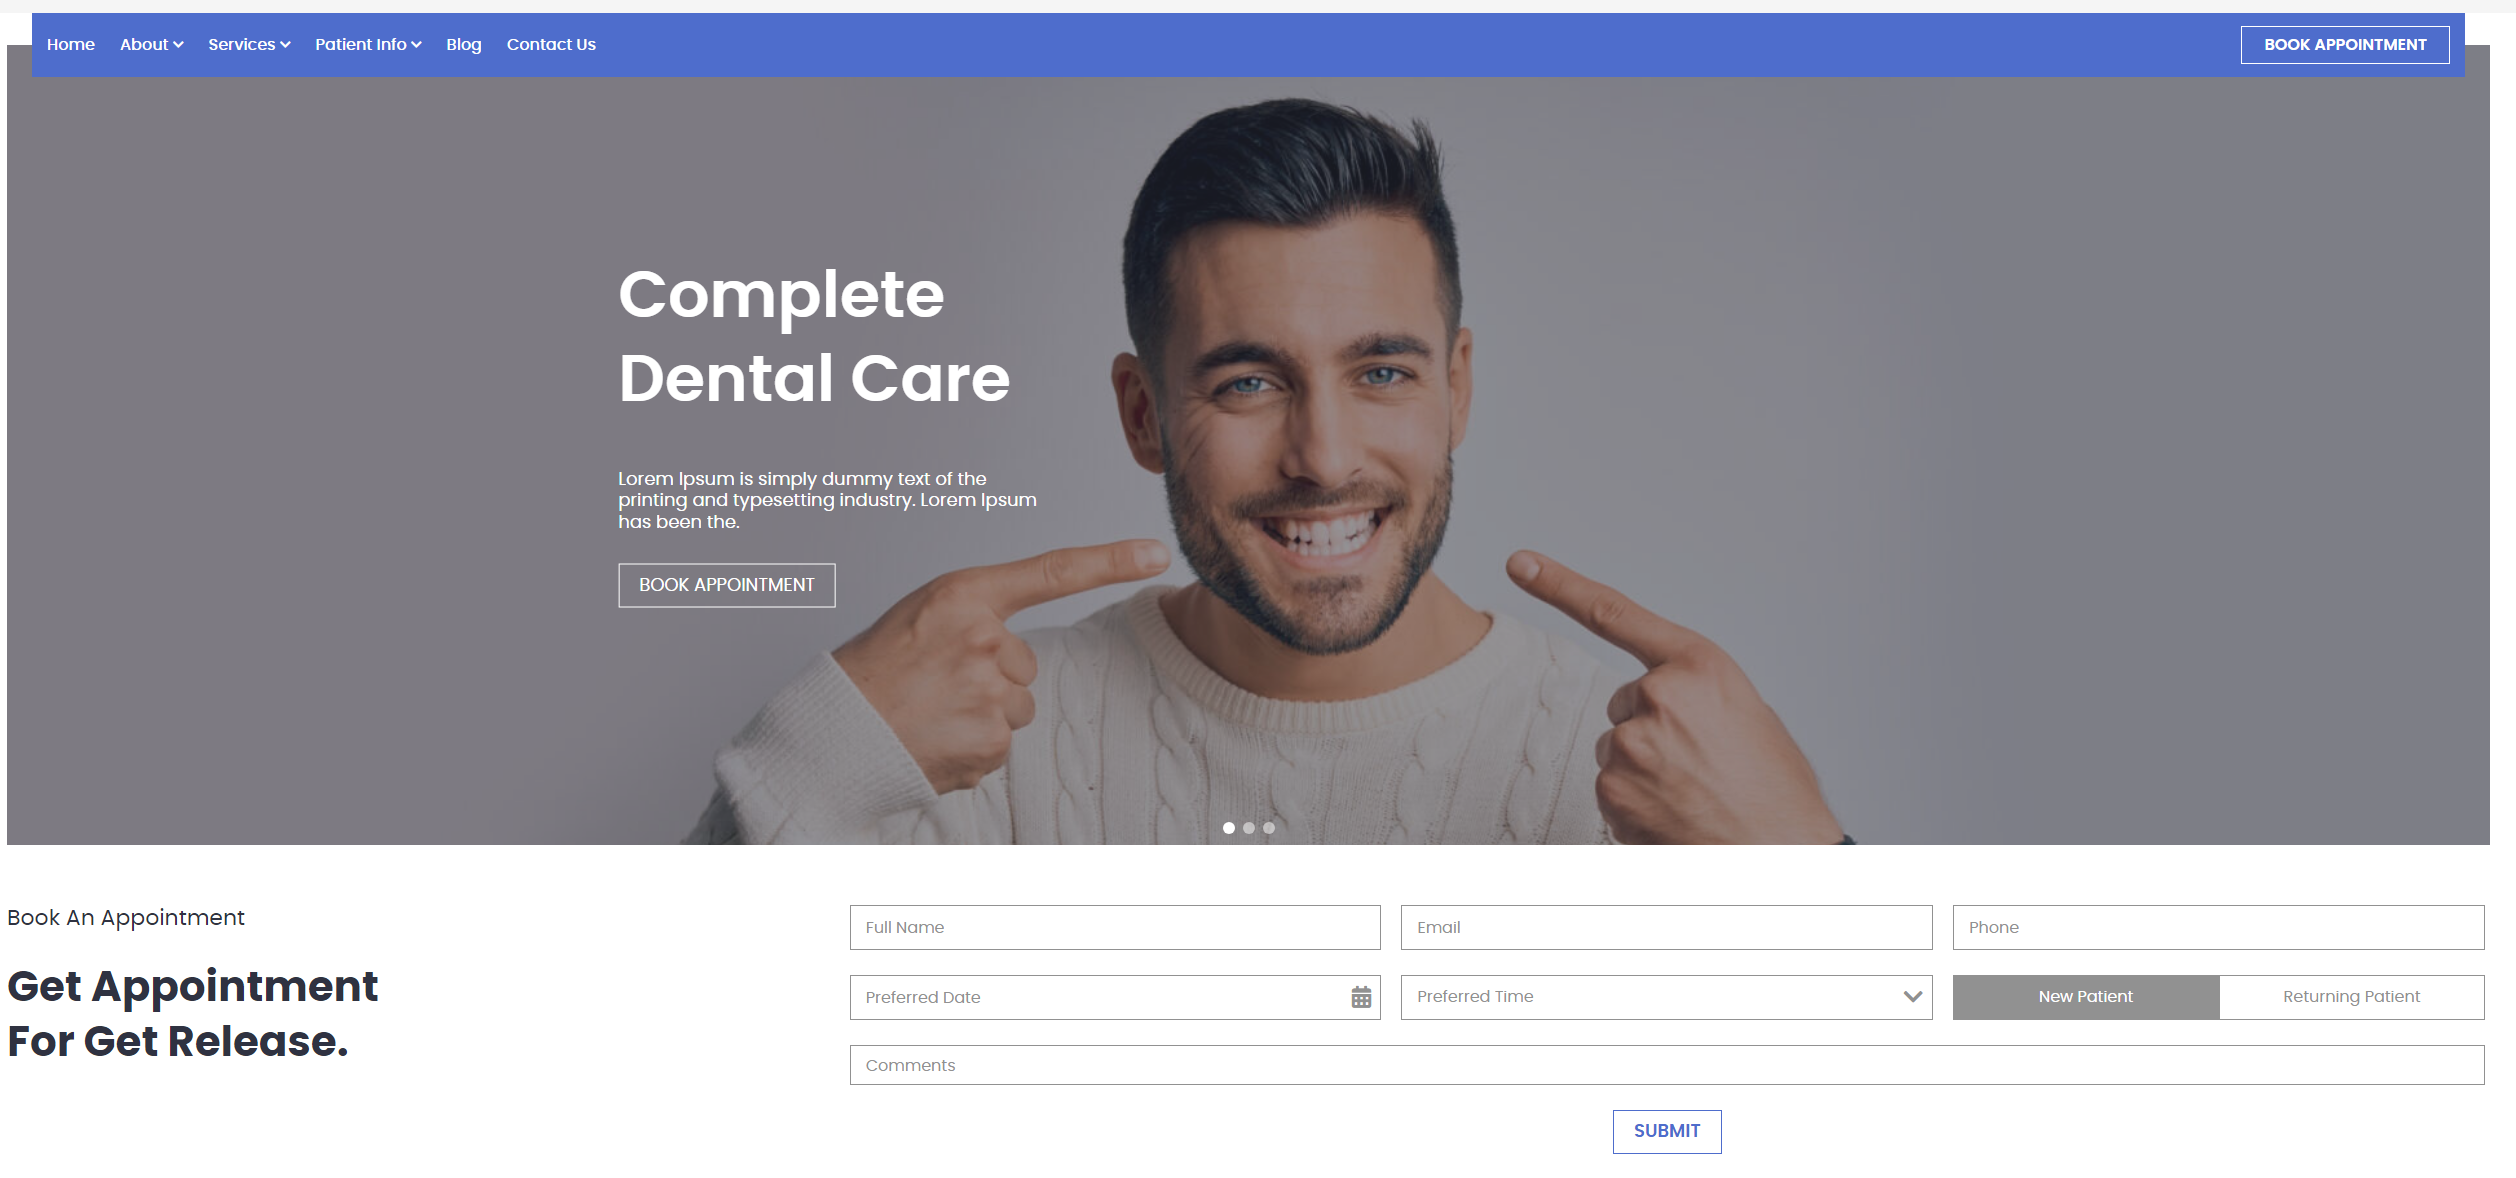
Webforms are a convenient way to allow patients to schedule or request appointments directly from your website, without needing to click a link and be redirected to a new page. This article can help your website designer or host by providing a custom code for embedding the Webform directly into your website. Below is an example of an embedded webform, followed by instructions on how to create your own using the Adit platform:
- Within the Online Scheduling Module, navigate to Web Forms within the Preferences tab.
- Click + Add Web Form in the top right corner.
- Select which version of the scheduler you would like to provide on the website.
- Next, you can fill out the required information highlighted in red, and also if desired, change the theme color to match your website. (tip: use an online color identifier to add the hex code (color ID) that matches your branding).
- The Host URL is just the URL to your website
- The "Thank you Page URL" is the page that a patient will be directed to once the webform is submitted.
- The Google Analytics ID will allow you to track the traffic/ source of the webform.
- Customize the data fields you would like to gather from patients in your online form (Those listed with an asterisk are required dependent on the version selected)
- After you've configured the webform preferences, Adit will generate your coding script to be added to your website. Check with your website provider which code will work best with your website. Adit gives you several options to choose from including" JavaScript, or HTML5 format (Code in example below has been blurred in article for security purposes).
- Copy whichever script you need and send it to your website provider to embed in your website.
Did you know? Alternatively, through the Adit platform, you can customize a unique microsite for online scheduling or "contact us" forms. Navigate to the help article here: How to set up the microsite
Did you know? Through Advanced Online Scheduling, you can allow patients to book directly into your EHR schedule, and you have control over all parameters: Turn advanced scheduling on or off
Related Articles
Managing the Online Scheduling Blacklist
The Blacklist feature in Online Scheduling allows your practice to prevent patients from booking appointments online. This can be helpful for preventing patients who consistently no-show, and decreasing unwanted/spam bookings. How Does the Blacklist ...Enable or disable individual operatories for online scheduling
Configuring your operatories will ensure that your online scheduling is as accurate as possible, allowing you to fit more patients into your schedule. Note: Advanced Online Scheduling is only available if your EHR is integrated with the Adit ...Managing Insurances in Online Scheduling
Adit’s Online Scheduling Insurance Settings allow practices to control how insurance information is collected from new patients when booking an appointment online. This article explains what each toggle means and how it impacts your patient booking ...Turn advanced scheduling on or off
Advanced Online Scheduling allows your patient to book specific services at specific times, directly into your EHR schedule. This helps streamline your scheduling and saves your staff time by allowing patients to book on their own. Note: Advanced ...Edit your office hours for appointments booked online
Keep your business hours up-to-date to ensure patients are able to schedule appointments online accurately. Note: Advanced Online Scheduling is only available if your EHR is integrated with the Adit platform. To set your business hours: Navigate to ...