How to Send Pre-Filled Appointment Requests to Existing Patients
When we send out an appointment request to an existing patient, we can pre-populate specific details such as appointment type, and providers available. So when a patient goes to book their appointment, they will only have to select the date and time. This is a great feature because it ensures that an accurate booking is made, and helps the patient save time since they don’t have to re-enter personal information like their name or number.
To send out an appointment request to an existing patient:
Select Quick Text in the top navigation bar
Go to the Appointment Request Icon
Click on the Existing Patient tab
Search the patient name you want to send the request to.
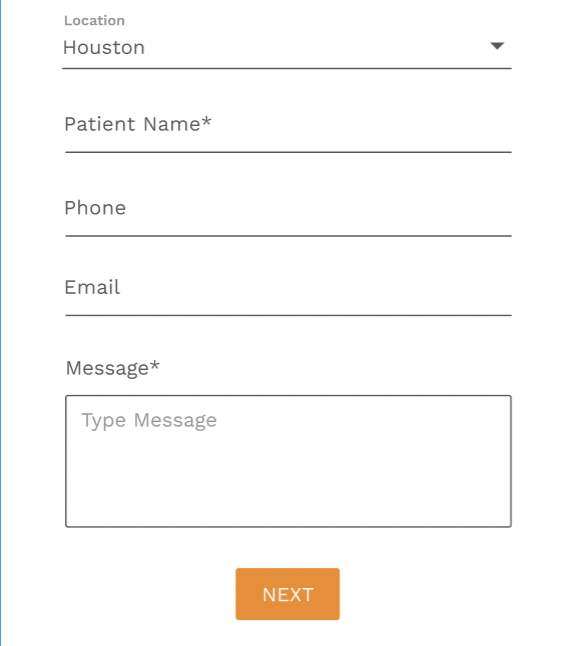
the following fields will be auto-populated
Phone
Email
Message (this will pull from your existing template in preferences)
Select Next
Now, select which options you would want to show to the patient when they are booking their appointment.
Services
You can choose which service the patient can book for
** Please note that the options available in this drop down are based on the services that are set up and enabled in your online scheduling preferences. (refer to screenshot below)
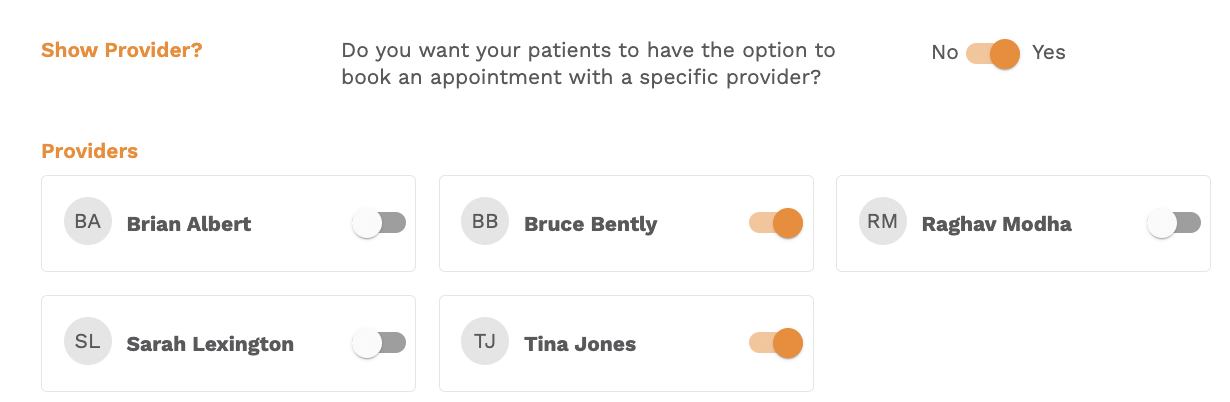
Provider
You can choose which provider the patient can book with
** Please note that the options available in this drop down are based on the providers that are set up and enabled in your online scheduling preferences. (refer to screenshot below)
If you don’t have Show Providers enabled, then this option will not be available in quick text.
Treatment Codes (Optional)
You can choose what treatment codes can be associated with this appointment once it is booked
There are two types of treatments lists you can select from
Planned Treatment
This is a list of treatment codes from the patient’s treatment plan that are still unscheduled
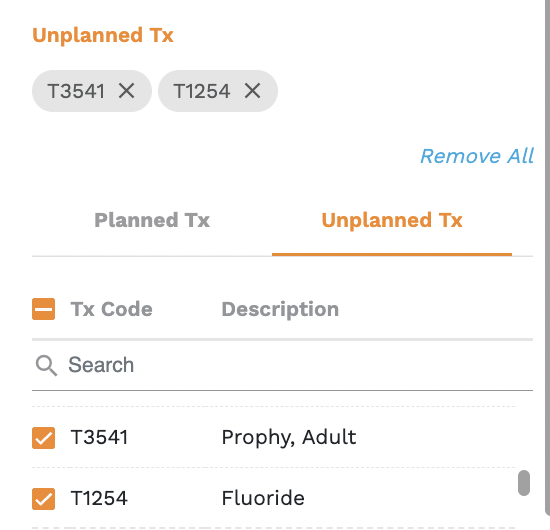
Unplanned Treatment
This is a generic list of all treatment codes available within the EHR
From the list, you can multi-select any treatments by clicking on the checkbox. You can also search for specific treatments by typing the name or code in the search bar.
Once selected, the treatment codes will appear in a new section, and can be removed at any time by clicking on the X icon or on the Remove All link.


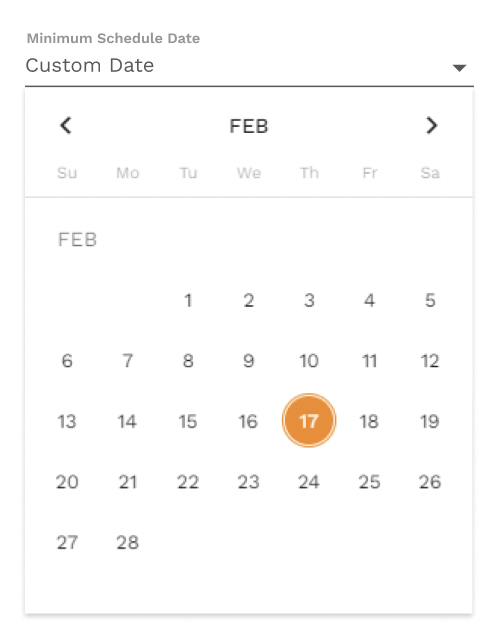
Minimum Schedule Date (Optional)
This determines when the earliest date they can book an appointment for.
From the drop down, the options are:
None
Patient Hygiene Due Date - the earliest date will be the patient’s hygiene due date from the EHR
Custom Date - you can pick a custom date
Once all the details are set, select Send
The patient will now receive a request to schedule their next appointment.
Receiving an Appointment Request From the Patient’s Perspective
A patient can receive an appointment request either by text or email.
Once the patient clicks on the link, they will be redirected to the microsite where they can book their appointment.
As you can see, the available date and times for the patient will populate based on all of the criteria that was set by the practice when they initially sent the appointment request. (Services, Provider, Custom Date)
Once they select Schedule Now, they will redirect to their appointment booking confirmation page.


Related Articles
Manage Existing Treatment Plans
There are several actions that you can take on an existing Treatment Plan, but they are limited based on the current status of the Treatment Plan. These actions can be found in the far right column of the Treatment Plans list. Send – a right-facing ...Choose how your review requests are sent
If your EHR software is integrated with your Adit platform, you can set Pozative review requests to send automatically when a patient’s appointment is completed in the EHR. You can choose to send review requests manually instead if that works better ...Send a Quick Text
There are two places within the Adit platform where you can access our Quick Text feature, which allows you to send a message with any of our text-message-based tools from one convenient spot, including: Pozative review requests Appointment requests ...Create and Send Email Campaigns
Email campaigns allow you to send mass emails to your patients across multiple locations. This helps you to quickly announce important information and keeps your patients engaged. Here is how to create a new campaign: Navigate to the Email Campaigns ...Add an appointment reminder
Appointment reminder messages are a valuable tool to help reduce the number of no-shows and last-minute cancellations. Reminders can be sent via text message, email, or a robo-call. Note: Appointment reminders are only available if your EHR is ...