Guide to Adit's eFax
Configuring Your Fax Number
-
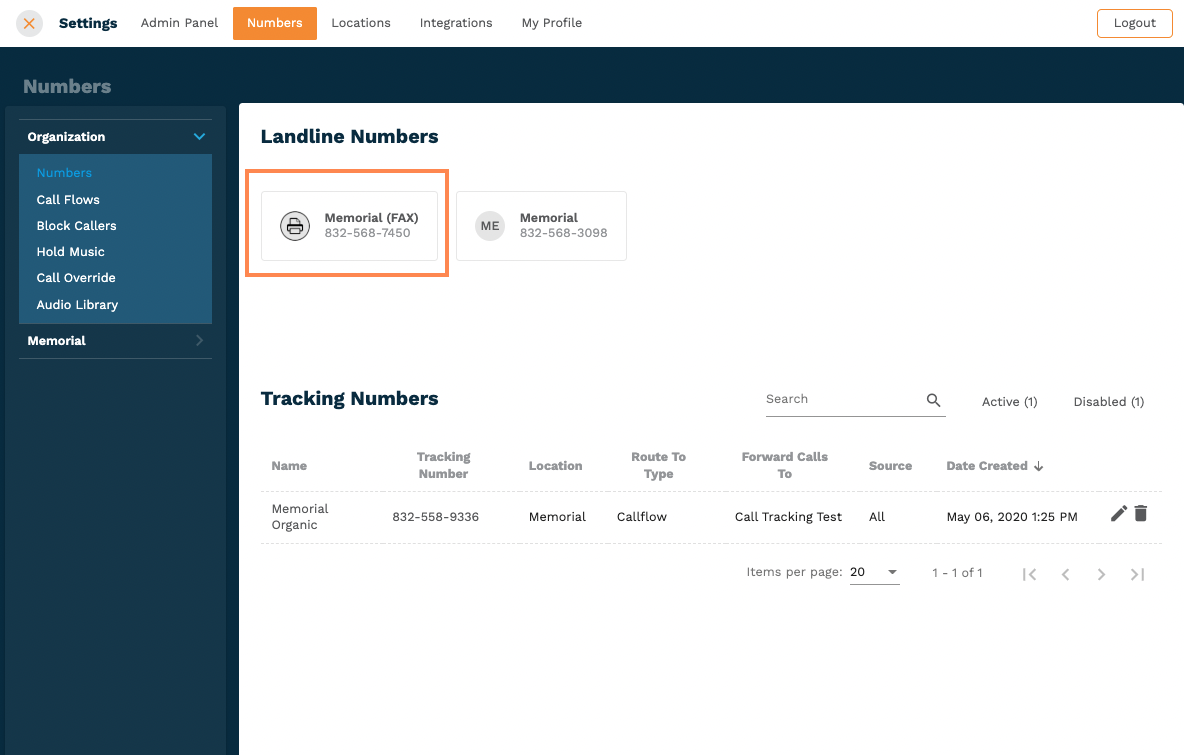
Click on the Settings gear icon at the top right corner of your Adit platform.
-
Select Number List from the menu.
-
Locate your Fax number.
-
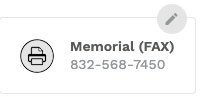
Click the Edit icon for your fax number.
-
In the "Send incoming faxes to" field, enter the email address where you would like to receive a copy of every fax.
-
Click the Save button.

Set Up and Verify Your Outgoing Email
-
Navigate to Settings.
-
In the Locations section, select your location.
-
Go to the communications Page
-
Type the email address you want to use in the Sender Address field.
-
Click the Send Verification Email button.
-
You will receive a verification email at the address you entered. Click the link in that email to verify the email address.
Sending a Fax
- Navigate to the Quick Text button at the top
- A pop up will appear
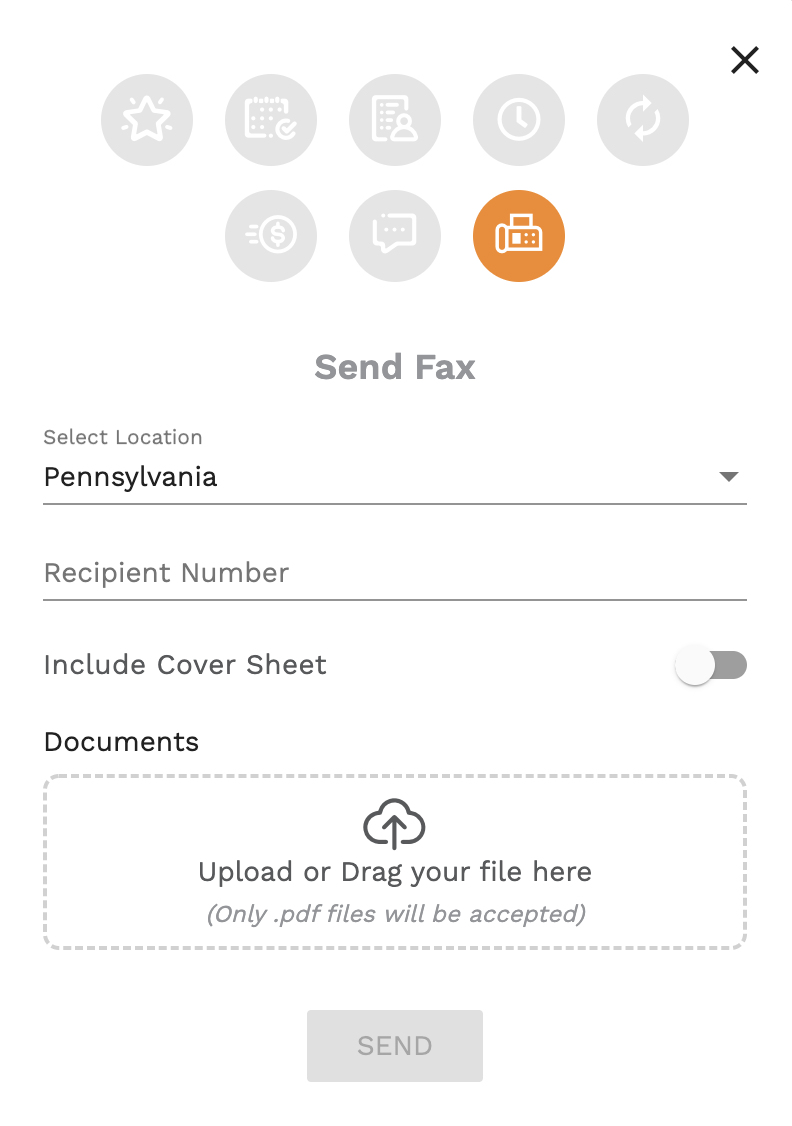
- Click on the Send Fax icon in the pop up.
- Select the Location.
- Type in the fax number of the recipient.
- If you would like to include a cover sheet, you can toggle the button ON and then type in the subject line and message.
- Upload the document(s) you would like to send. Please only use PDF files.
- Click on Send


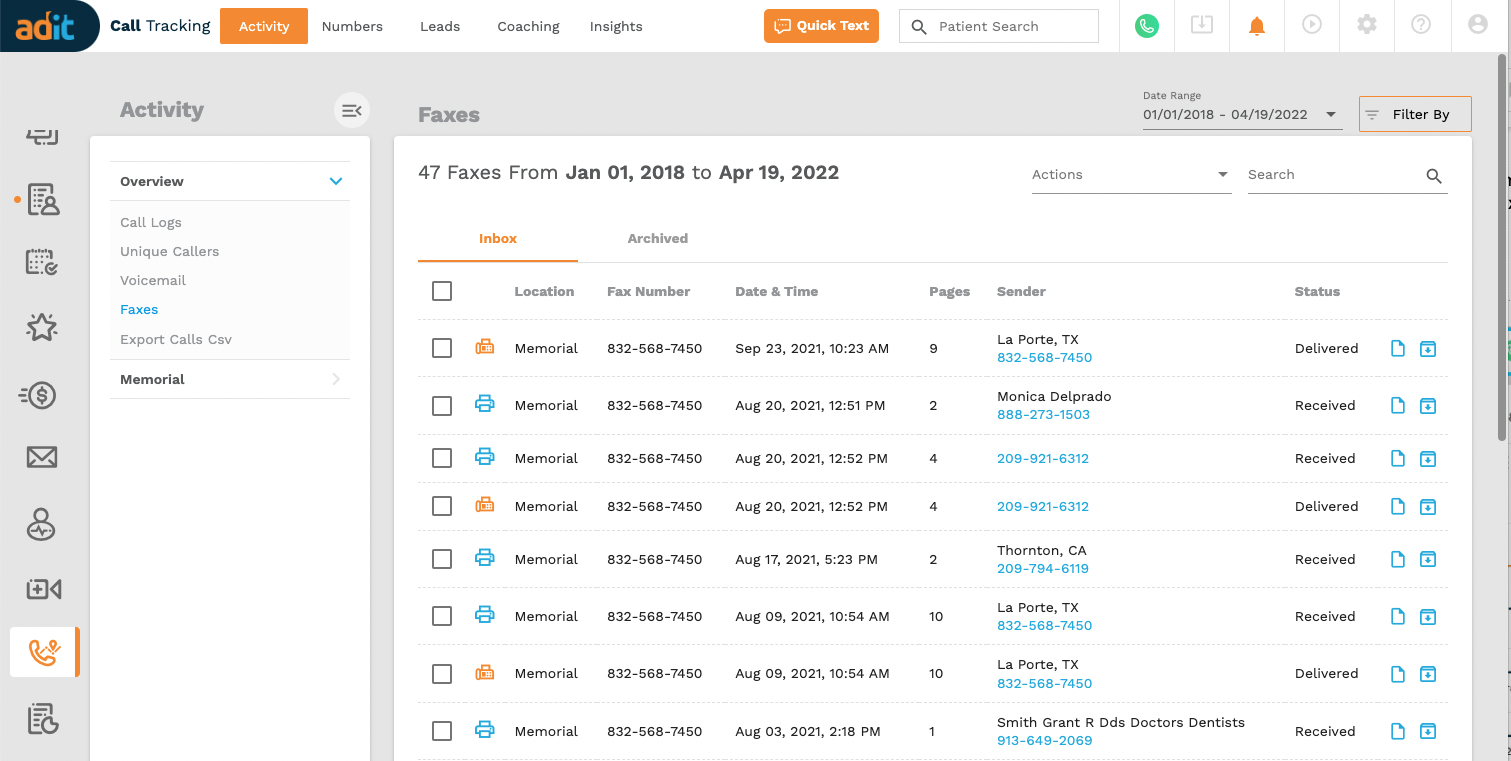
Viewing Your Faxes
There are 2 ways to view your faxes.
-
In the Call Pop
-
Click on the Call Pop.
-
Click on the Faxes tab.
-
In the Call Tracking module:
-
Click on the Call Tracking module
-
Hover your mouse over the activity tab on the top menu, then click Faxes.
-
Here you can view your faxes in tabular format. Be sure to update the date range according to your preferences.


Adding a Fax Number
-
Port-in your existing Fax Number:
-
Click on the Settings gear icon at the top right corner of your Adit platform.
-
Select Number List from the menu.
-
Click the “Port-In” button
-
Select the location and click Continue.
-
Fill out the form and click submit. Our team will follow up with you on further instructions and updates on the status of your port. This can typically take 1 to 2 weeks depending on your existing Fax provider.
-
Purchase a new Fax Number:
-
Select Number List from the menu.
-
Click the Order Now button.
-
Select the location.
-
Choose a Country.
-
Select “Find Fax Numbers”
-
Search available Fax Numbers by searching an area code. Please note, some number availability may be limited based on your area. If there is no availability for your desired area code, we recommend trying other area codes within the same vicinity.
-
Click Place Order.
-
Once your fax number is ordered, please send an email to support@adit.com with the subject line: "New Fax Number Purchased" and with the body content, "I have bought a new fax number, [insert fax number], please enable this number for my account."
-
We will generally get this resolved for you within 24 hours. Once this is complete, you can proceed to the next step.
Related Articles
Send an eFax
Adit’s eFax feature uses your email to send and receive faxes so that your office can take one more step towards being paperless. In order to send an eFax from your office, your outgoing email needs to be set up and verified. Sending an eFax. You can ...Understanding Adit’s New Navigation Layout
Adit’s latest update introduces a redesigned interface that improves navigation, multitasking, and access to key features. This article explains the new UI/UX elements, their purpose, and how you can use them effectively. 1. New Menu Structure (Left ...How to Use the Create Request Button in Adit
The Create Request button in Adit provides quick access to multiple patient-related actions without navigating through individual modules. From sending review requests to processing payment requests, this feature centralizes the most common ...How to Check the Eligibility Status of an Insurance Verification in Adit
Revenue Cycle Management · Verification Status Where to check verification progress, how to read each dashboard card, and what every status and action means. Insurance verifications in Adit are primarily handled by the Adit RCM team. However, your ...Set Up Adit Pay
Adit Pay allows you to collect payments from your patients both online and in the office. The registration process is entirely self-guided, so you can sign up at any time! Please note that only Owner-Level users can set up the account. To set up your ...