A Guide to Managing Users and Their Access
You will need to understand the 4 key roles a user can be added as in the Adit platform.
- Owner: Generally the owner of the practice. Has the ability to edit all settings, edit banking information, export data, etc.
- Manager: Generally the office manager. Has the ability to edit most settings.
- Staff: Generally the front-desk, associates, and those who would engage with patients.
- Read-Only: Generally a consultant. Has the ability to view all information but not edit or engage
Please go to this link to understand all of the adit role permissions: Understanding Adit's User Role Permissions
If a user is added to the adit app with just access to internal chat, then by default they will be given a read-only user role.
Where to manage user permissions
Click on the Settings gear icon in the top right corner
Select Users
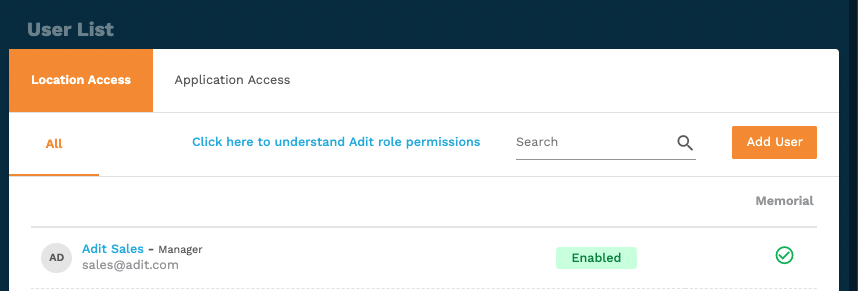
Clicking on “Location Access” will allow you to see all the users and which locations they have access to.
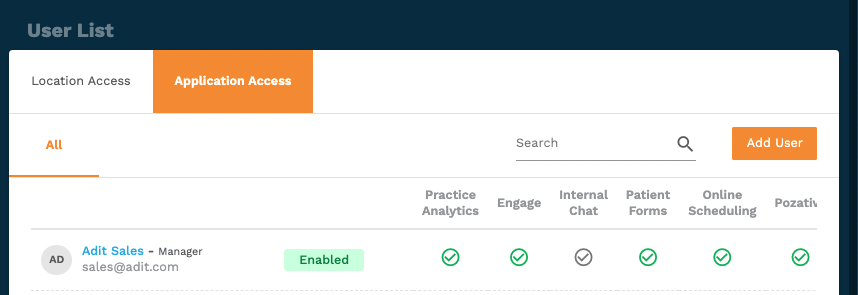
Clicking on “Application Access” will let you see which users have access to which modules.
Please note that all users will have the same level role and same app-level permissions across all locations that they will have access to.


How to add a new user
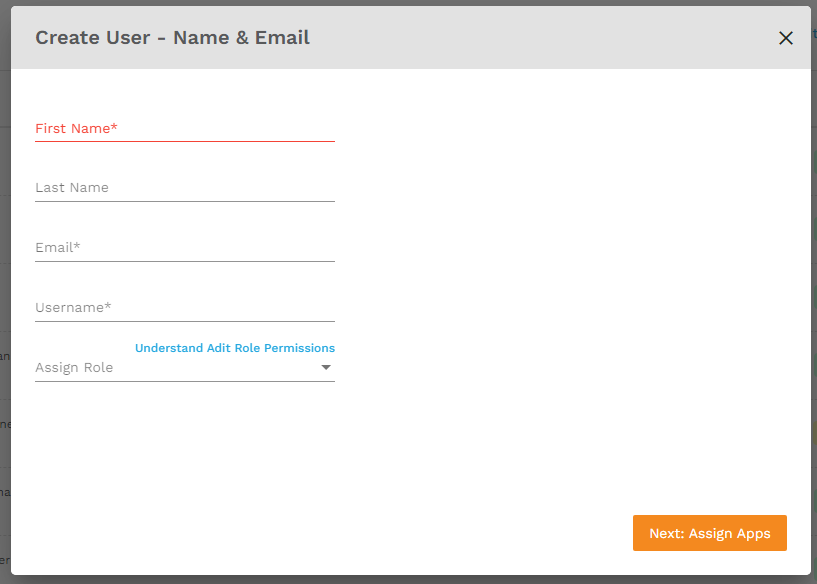
Click the Add User button
Fill in the user’s information
Select the applications/modules you would like to provide access to this user
Select locations you would like to provide access to this user
You can choose to create a password or send the user an email where they can create their own password.



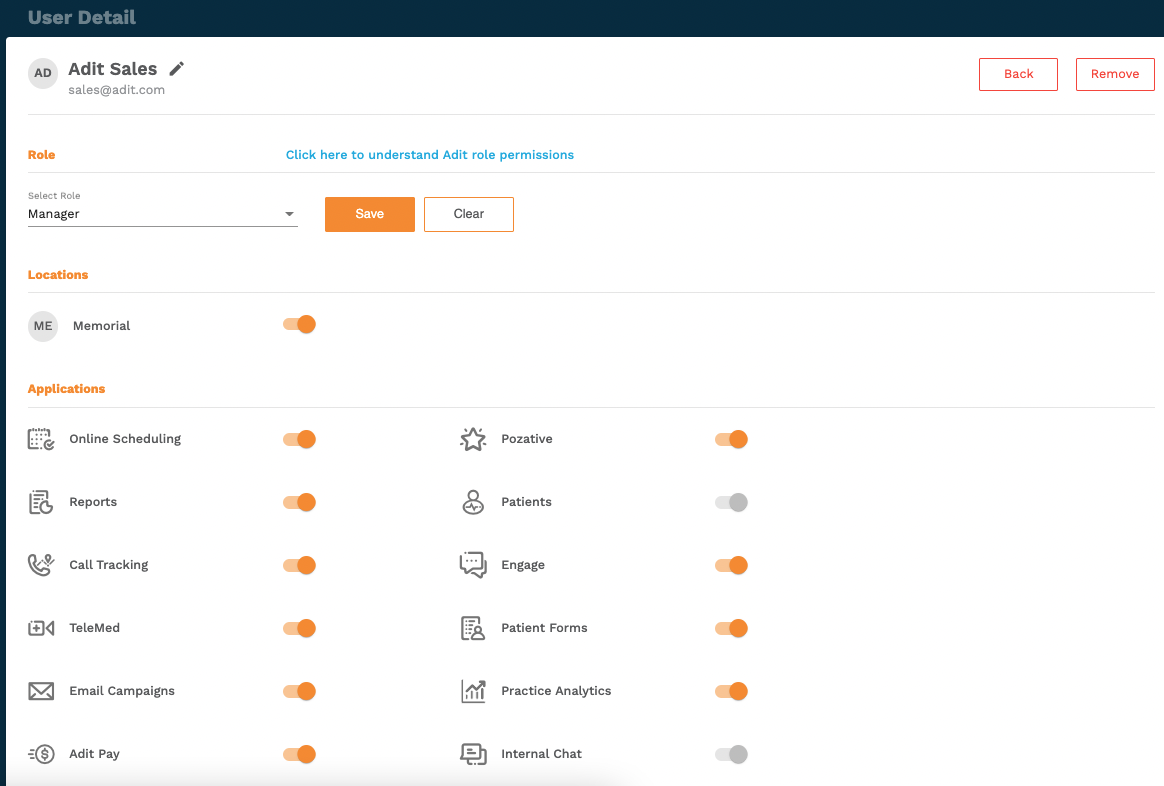
How to edit an existing user
Click on the User you want to edit
Use the dropdown menu to edit the role
Click on the necessary toggles to change location and module access